Since the summer I’ve been all about interfacing with smart batteries. All the laptops I’ve had, I’ve deciphered the pinouts for. However, our college-supplied laptops, the Toshiba Tecra R840, has eluded me for over a year. The IT department didn’t allow me to obtain an old battery pack for disassembly (not like I was expecting them to 🙂 ), so instead I looked at disassembling the laptop to find out the interface. The reason I decided to take apart the laptop as opposed to the battery, is that the laptop is generally able to be taken apart and re-assembled without leaving permanent marks; batteries are often ultrasonically welded and can only be opened with brute force or a hot knife.
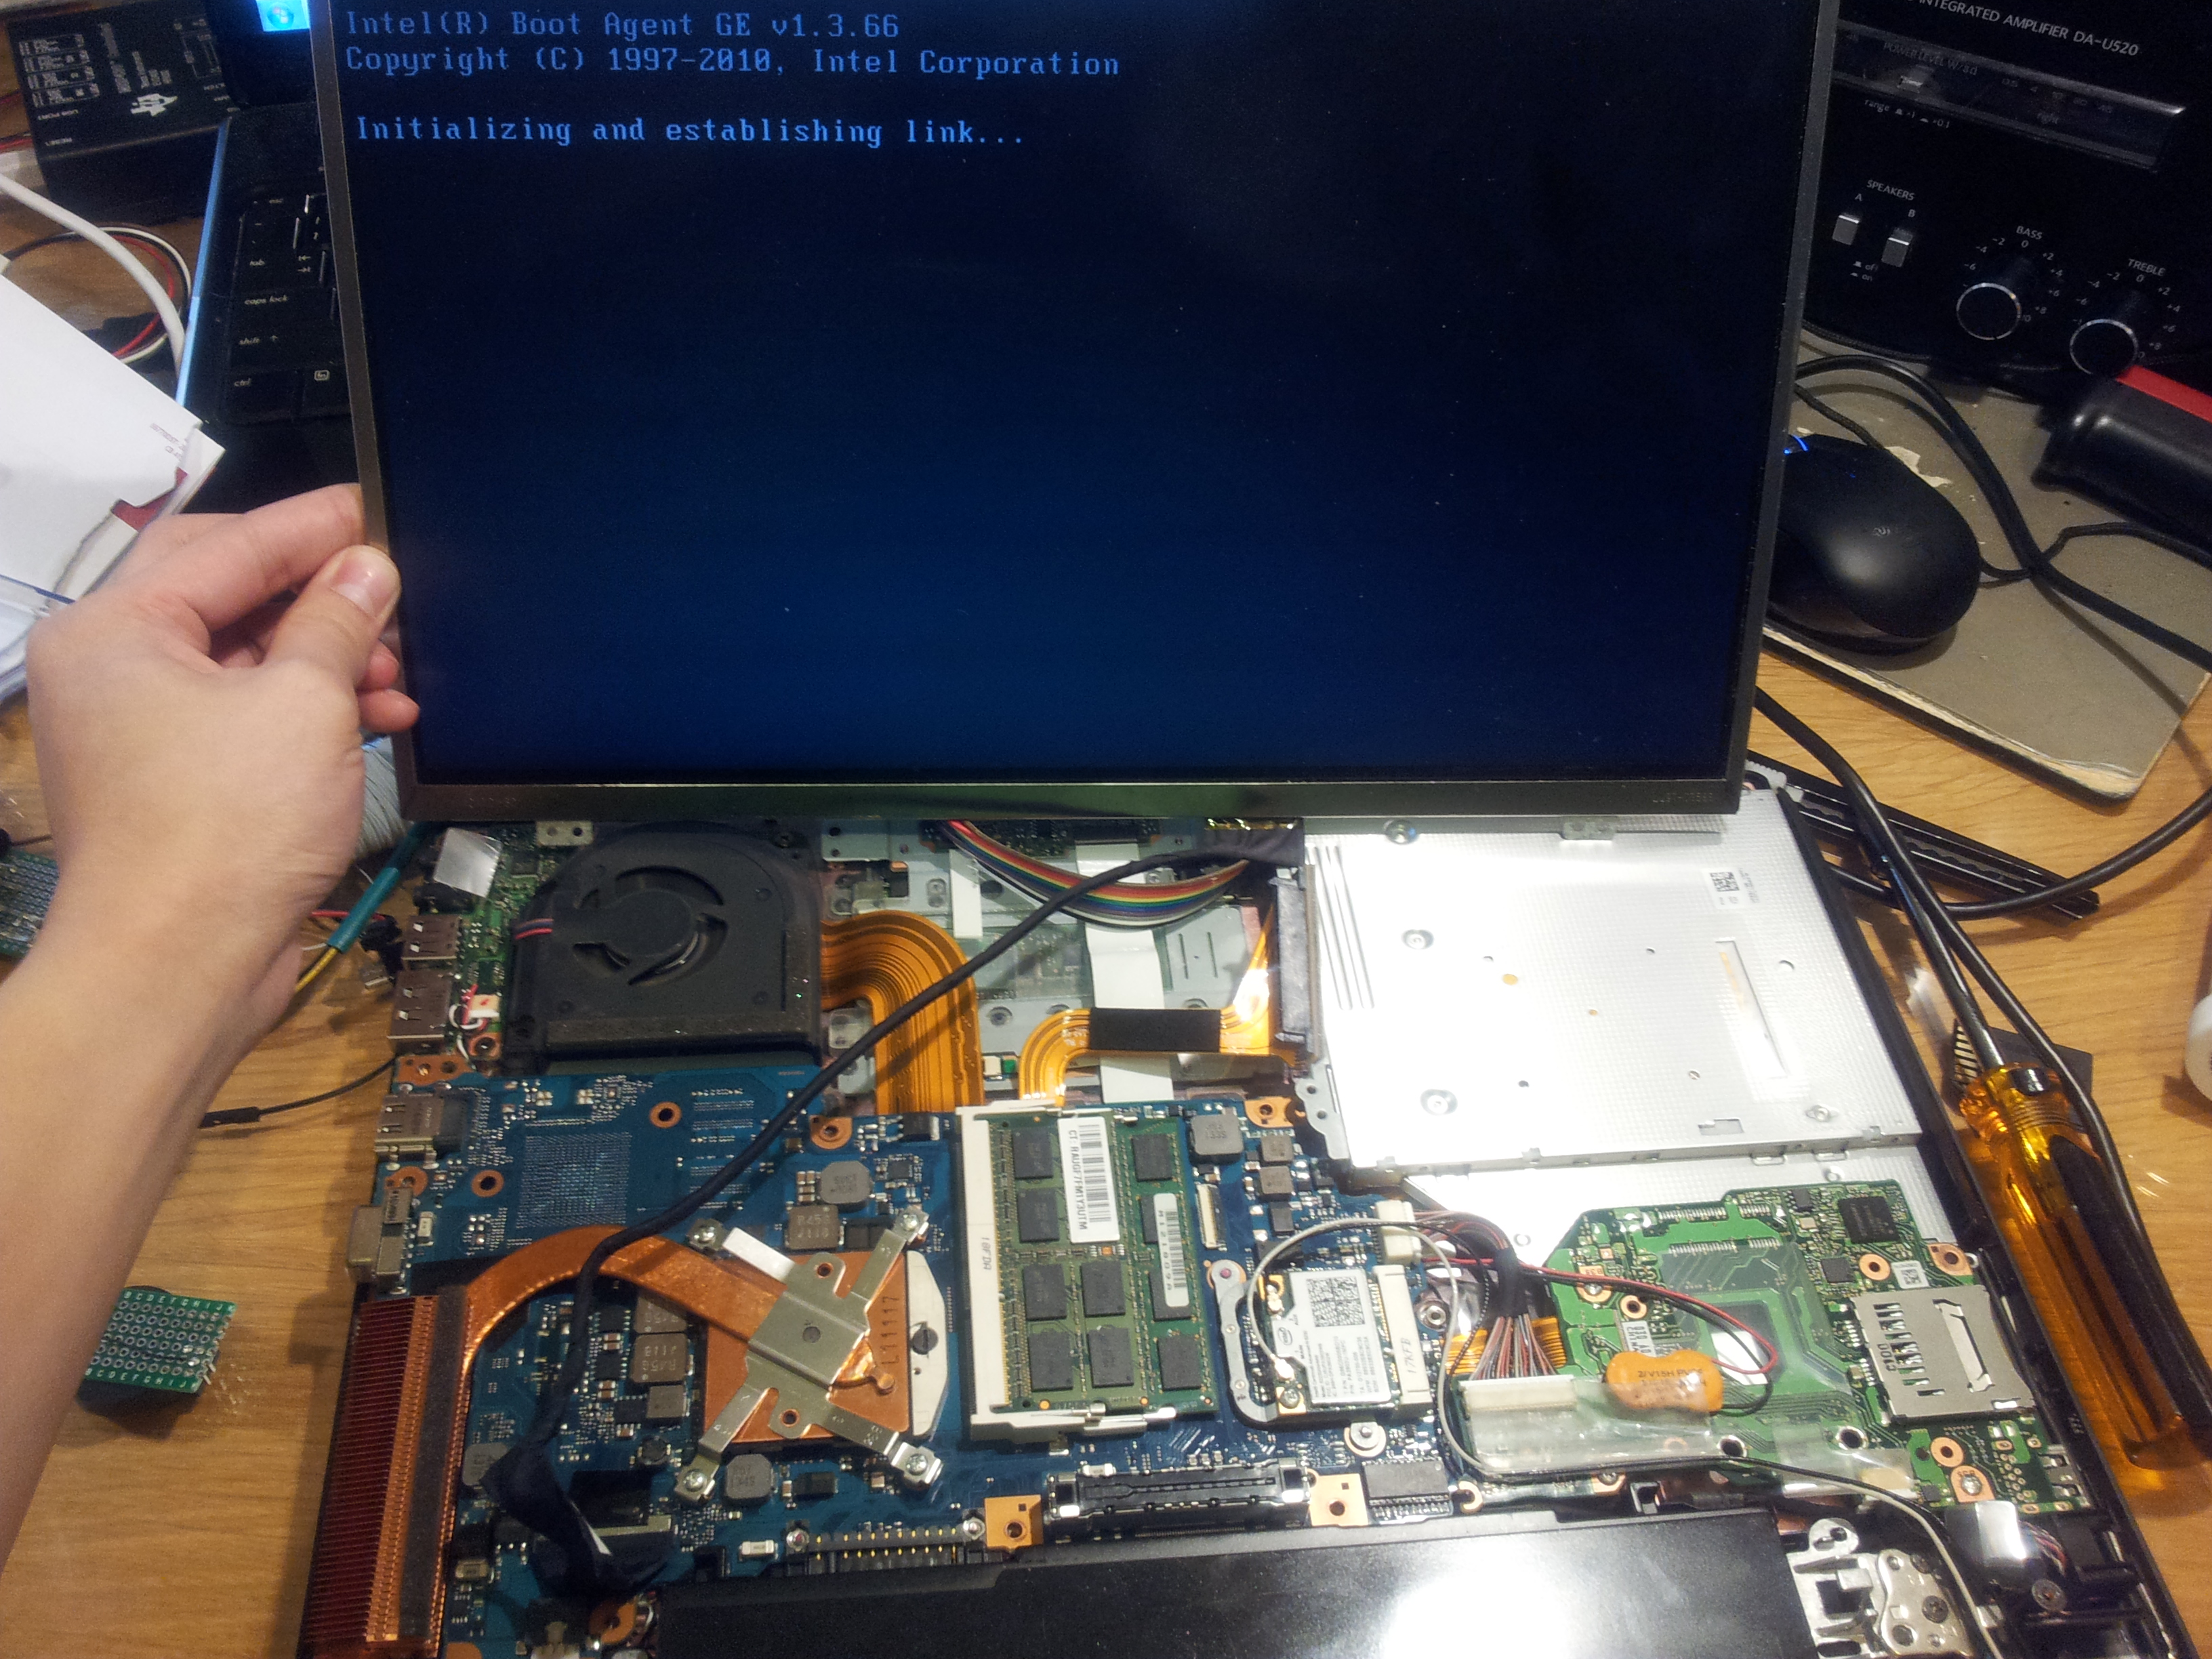
Laptop bottom cover removed and powered by battery
After removing many screws and popping the bottom of the laptop apart, I looked to the battery connector to find out the pinout.

Close-up of battery connector
The PCB had an unpopulated spot for some 3-terminal ESD protection diode, and this was a hint that these two pins were what I was looking for. I soldered some wires to the pins and a third ground wire, and attached them to a pin header. I used a logic analyzer to examine the signals (if any) that passed through the connector.
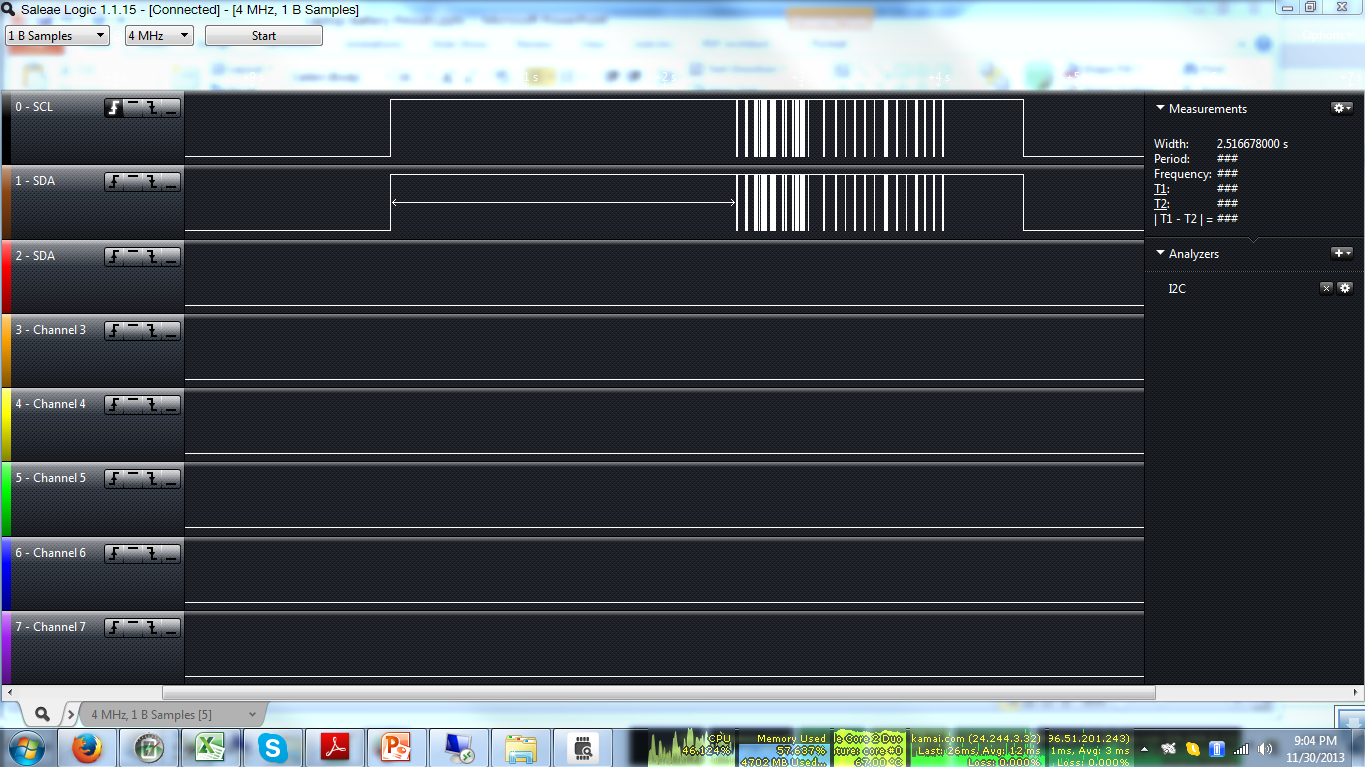
Logic analyzer trace of initial battery insertion
And I hit pay dirt, or so I thought. I was able to find out that there indeed was communication between the battery and the laptop. However, the fun ends there. Looking closely at the I2C transactions, I could see that the battery wasn’t speaking the normal SBS (Smart Battery System) protocol. Testing with my Texas Instruments EV2400 confirmed that this isn’t a smart battery. It appears that the battery likely only contains an EEPROM for some battery information storage but lacks any real means of gas gauging. That would probably explain why battery life is abysmal on these machines!

Toshiba battery not detected with smart battery hardware/software
I was able to mostly figure out the pinout for the battery, but what has yet to be seen, is which pins provide power to the EEPROM chip, as it seems that it is not powered internally.

Currently known battery pinout
Sometime later I’ll have to delve further into the contents of the EEPROM, or try and obtain one of these batteries for disassembly. We’ll just have to see.

you like taking things apart don’t you?
but i guess that’s the best way to learn how something works 😛
LikeLike
Do you know if the cell balancing is done with the board on the battery or via the multipin connector and the BMS circuitry is within the laptop.
This is a Satellite C55-A-1G2
I am guessing that any cell balancing his done within the battery.
I have the dead C55 battery apart at the moment,It is 6 cells. in 3 series 2 parallel config (3s2p) a bank of two parallel cells at the end were dead, so I cut them out and turned the pack in to a 3s1p pack instead of the original 3s2p config.
My problem initially was that I wanted to do a BIOS update…but the battery was not being recognised..and the BIOS would not update, even with AC power connected unless a battery was present.
So i hacked the battery, and charged the cells individually to 3.7 volt per cell, via a lithium Balancin g hobby charger (iCharger 3010b) .
On replacing the cells in the pack, there is still zero output on the terminals..(9 pin in this batteries case.)
but now the pack is being recognised and I can do the BIOS update…but still it won’t charge, the battery icon shows alternative and randomly 100% or zero % charge…
So my guess is the board within the battery is likely toast…or something within the laptop itself.
Any input on any of this?
LikeLike
Chances are the cell imbalance combined with the removal and reconnection of the cell terminals has sent the battery fuel gauge into a “permanent fail” state, in which the BMS inside the battery pack has disabled charging and discharging by blowing an on-board “chemical fuse”. I’m not aware of many battery packs out there that perform balancing, let alone allowing balancing outside of the battery pack itself; although many newer chips like TI’s multi-cell gauges do support internal balancing, it’s often done near the end of the charge cycle and is usually too weak to make up for very large imbalances (or in your case, a potentially shorted cell).
Your best bet is to just replace the battery pack, especially if you don’t have the programming tools to edit the BMS controller’s information (and even then, most manufacturers use custom chips and/or firmware that is not publicly accessible).
LikeLike
Useful info here maybe ..
http://kuzyatech.com/testing-laptop-battery-pinout-smbus-charge-capacity
LikeLike
I saw that article a while back. They’re using the same software and a similar hardware adapter I use (they’re using the slightly older EV2300 from TI, whereas I have the EV2400).
The chip that was in that article wasn’t part of TI’s lineup, but all laptop batteries speak the same protocol (just that each manufacturer has proprietary additions).
LikeLike
I currently ‘ripitaparted’ one Toshiba Tecra R850 battery on my desk (a PA3905U-1BRS to be precise) ; though of different shape, the connector look the same. Very few information could be found regarding these type of Toshiba laptop batteries ; fortunately you’re there … It’s a long time ago but yes the PCB is poorly populated : smartest circuits are a small 8-lead ST 34F04 (4Kbit EEPROM) and an undetermined small 8-lead Microchip Technology 138 309E. In my case when connected all pin show a voltage near battery positive except pin 3 (and BAT-, of course). May be something is wrong with the battery PCB ?
Please note that this Toshiba battery was not too hard to open : the two shell seem to be a male-female fashion assembled by force.
Amazing blog, good luck with your various projects !
LikeLike