As seen on Hackaday!
Oh no, I’ve done it again haven’t I?
TL;DR: Just because a device runs Windows CE doesn’t mean it’ll just run Doom without much work.
About a week ago I was perusing some local garage sales, and stumbled upon an old GPS receiver – the Magellan RoadMate 1412. Magellan units are known to run Windows CE, so naturally I had to purchase it and do what needed to be done: run Doom on it. After shelling out $10 CAD for the receiver and its slightly-damaged car charging cord (no mounting bracket, though), it was time to take it home, clean it up, and send it to its Doom… (heh, get it? … I’ll see myself out.)

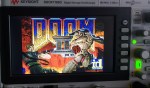
The Magellan RoadMate 1412 running Doom! It wasn’t nearly as easy as I first thought…
Considering that the device runs Windows CE 5.0, I figured that running Doom on it would be a piece of cake once I gain access to the underlying operating system. Should be pretty straightforward… right?
Wrong! Feel free to join me in my adventures in running Doom on a (perhaps excessively) neutered stripped-down Windows CE device.
Stage 1: Power-Up
Turning on the unit wasn’t particularly exciting, although I expected the unit to not work until the internal battery received at least some charge. However, within seconds of me connecting the car charger to it, it powered on with the Magellan logo and a progress bar, before transitioning to the boot logo and the usual “don’t crash your car” warnings that GPS units tend to display on power-up.
-

- Magellan RoadMate 1412 starting up.
-

- Splash screen displayed after boot progress bar.
-
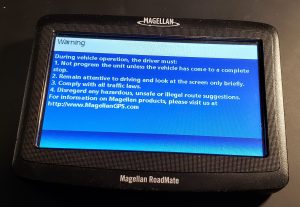
- Legal notice before navigation app starts.
Unsurprisingly, the unit still works as a GPS unit, and there’s no immediately apparent way to exit the navigation app and slip out into Windows CE itself. However, after some searching, I found out that plugging in the unit causes it to appear on a computer as a USB drive, with the navigation app’s files all visible as a FAT32-formatted 2-gigabyte volume.
-

- The Magellan RoadMate 1412 in USB mode.
-
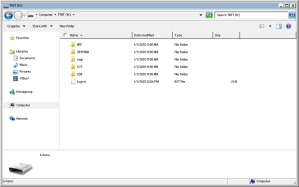
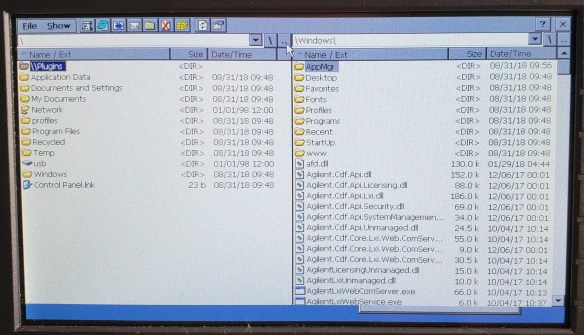
- The Magellan RoadMate 1412 file structure.
-
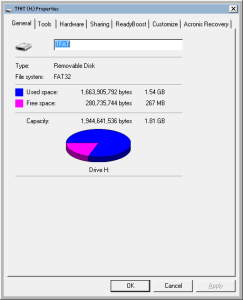
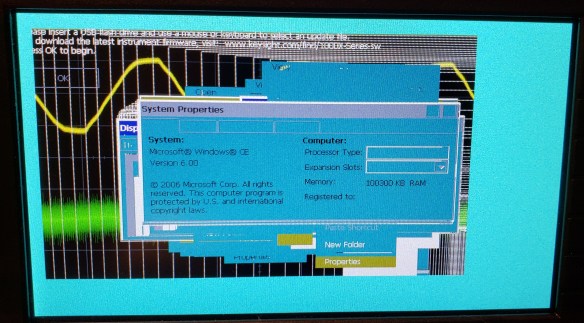
- The Magellan RoadMate 1412 file system properties.
Stage 2: Not-so-Total Command
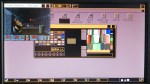
The navigation app’s files are stored in the “APP” directory, with the executables “Navigator.exe” and “mgnShell.exe” catching my eye in particular. I renamed the Navigator app to “MagNavigator.exe” as to allow a relatively easy revert in case things go wrong, and I copied TotalCommander/CE to replace the original navigation app. Rebooting the receiver didn’t appear to change anything until I dismissed the initial legal warning. Once I closed the notice, I was sent right into TotalCommander/CE, but with no taskbar in sight.
-

- TotalCommander/CE launched instead of the navigation app.
-

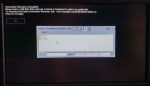
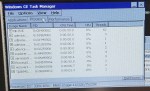
- No taskbar, and no .NET Compact Framework either…
One strange thing I noticed was a distinct lack of icons in the folder list. Scrolling through the “\Windows\” directory revealed some rather disappointing revelations: we have no command prompt, on-screen keyboard, or Explorer shell (therefore, no desktop, Start menu or taskbar).
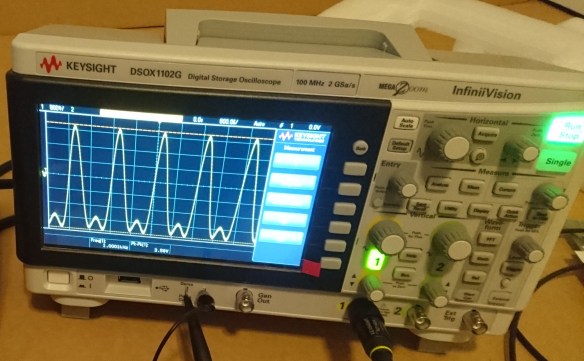
This meant that running Doom wouldn’t be nearly as easy as it was when I got it running on my Keysight DSOX1102G oscilloscope, as that device still had a (mostly) full Explorer shell and command prompt. Windows .lnk shortcuts failed to work either, causing TotalCommander to just redirect to the system root directory – and forget trying to use batch files! The Explorer components are so absent, third-party apps can’t even display Open or Save dialogs…
This presented a significant roadblock: Chocolate Doom for Windows CE requires command-line arguments. How am I supposed to run this with no Explorer shell or command prompt?!
Stage 3: Getting (Mort)Scripty
Without access to native Windows CE tools, I needed to find a third-party solution to run programs with command-line arguments – maybe some sort of scripting engine.
Enter MortScript. It’s a lightweight yet powerful scripting engine, with a Visual Basic-like syntax. It’s instrumental in making GPS mods like MioPocket possible. (On that note, before this point I wasn’t even aware that MioPocket even existed; I learned that it provides a lot of Windows CE functionality that’s otherwise absent on GPS units like mine, but I’ve come this far – I was determined to forge my own path to Doom.)
-
- Mortscript registering file extensions upon first run.
-

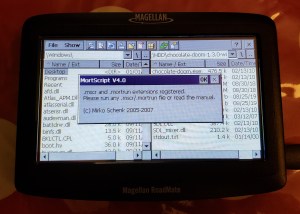
- Testing out MortScript for the first time.
I tinkered with the example command syntax and used its Run() command to send the correct command-line arguments for Chocolate Doom: “chocolate-doom.exe -iwad [wad path]“. After running MortScript for the first time to register the .mscr file extension, I was ready to make my script:
# LaunchDoom1.mscr
#########################################
# Chocolate Doom for Windows CE Startup Script by Jason Gin
# Visit: https://ripitapart.com
# Version 1.0 (initial release)
#########################################

# Resource Paths (WAD and executable)
DoomWadPath = "\SDMMC\Fun\chocolate-doom-1.3.0-wince\Doom1.wad"
DoomExePath = "\SDMMC\Fun\chocolate-doom-1.3.0-wince\chocolate-doom.exe"

#########################################

# Step 1: Create required command-line arguments to start Doom:
DoomExeArgs = "-iwad " & DoomWadPath

# Step 2: Run Doom!
# Error checking is performed on whether the WAD file path is valid.
# This assumes that the executable path is valid.
# If it isn't, then nothing happens anyway.

If (FileExists(DoomWadPath))
Run(DoomExePath,DoomExeArgs)
Else
Message ("Error: Unable to find the WAD file at " & DoomWadPath & "!")
EndIf
Stage 4: Doom’d!
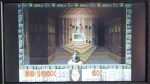
After running the script, I declared success: it runs Doom! The window was limited to its lowest supported resolution of 256×200, but running “chocolate-setup.exe” I was able to set it to 320×240 – not great, not terrible. Oh, and it also runs Duke Nukem 3D.
-
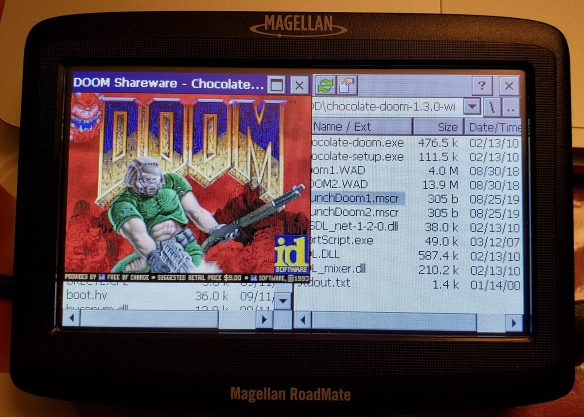
- It runs Doom!
-

- It also runs Duke Nukem 3D!
Unlike my previous Doom hack, I wanted to make the window fill the screen but not be in full-screen mode (without any physical buttons, I would otherwise be unable to regain control of the operating system). After some tinkering with the configuration files stored in “\My Documents\.chocolate-doom\chocolate-doom.cfg“, I changed the following settings:
autoadjust_video_settings     0
fullscreen                    0
aspect_ratio_correct          1
screen_width                  480
screen_height                 247
With this adjustment saved, I was able to get a more immersive Doom experience on my GPS receiver.
Magellan RoadMate 1412 Runs Doom
Extras
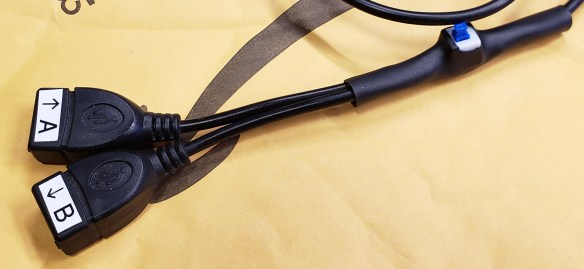
I wanted to see if I could get an external keyboard working on the receiver so I can actually play Doom instead of just letting the on-screen demo do its thing, so I rigged up a mini-USB On-The-Go (USB OTG) cord with a homemade USB B-to-A adapter so I can plug in USB peripherals to the charging port. Unfortunately, it seems that the receiver only supports USB drives, and refuses to work with USB input devices (like mice and keyboards); it doesn’t even work with USB hubs! Oh well, it was worth a try.
-

- DIY adapter to get a USB host port.
Conclusion
As is with many things in life, projects are often much more complicated than it might seem. Just because a certain device runs Windows CE doesn’t mean that all the of the expected components are actually available (after all, it is meant to be a highly modular embedded operating system). However, with the right tools, it can be done – and it keeps the adage of “It Runs Doom!” alive.