UPDATE (September 27, 2018): Fixed a broken link to the article on bypassing MSI installer checks.
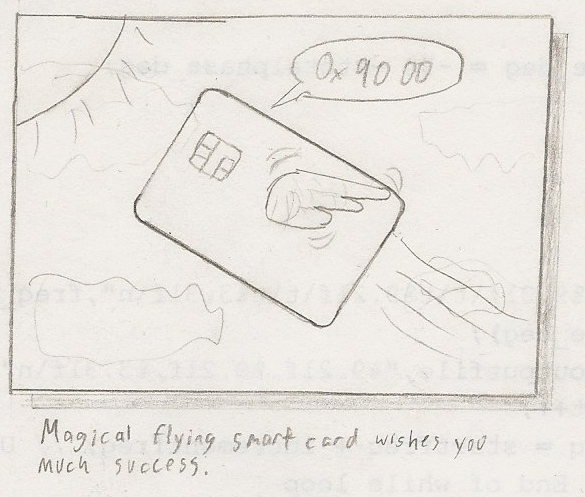
After finally reinstalling Windows on my main PC (the smart card components in the old install were trashed), I dusted off the old smart card reader and started looking into smart card-based logon options again.

Windows logon screen using a smart card
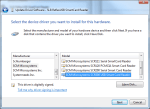
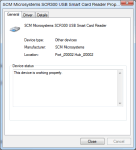
After finding a way to force convince the installer for EIDAuthenticate, a program that lets you use smart cards to log on a Windows computer without the use of domains and Active Directory, to run on Windows 7 Professional (Microsoft DreamSpark only lets me obtain the Professional editions of Windows), I found a program called NFC Connector Light that lets you use any NFC-compatible smart card as a means of authentication.

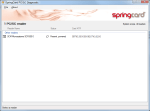
Virtual smart card with certificate installed
NFC Connector Light links the unique identifier in an NFC-based smart card to create a virtual smart card on the local computer (no data is stored in the card itself), and that virtual card can be used like a real smart card within Windows. When paired with EIDAuthenticate, logging on is as simple as placing the smart card on the NFC reader and entering a PIN. This is especially useful when you set the Windows smart card policy to lock the computer when the card is removed (and it feels kind of cool to be able to lock your computer simply by taking your card off the reader).